
Silage Fermentation: 9 Easy Ways to Avoid Costly Mistakes
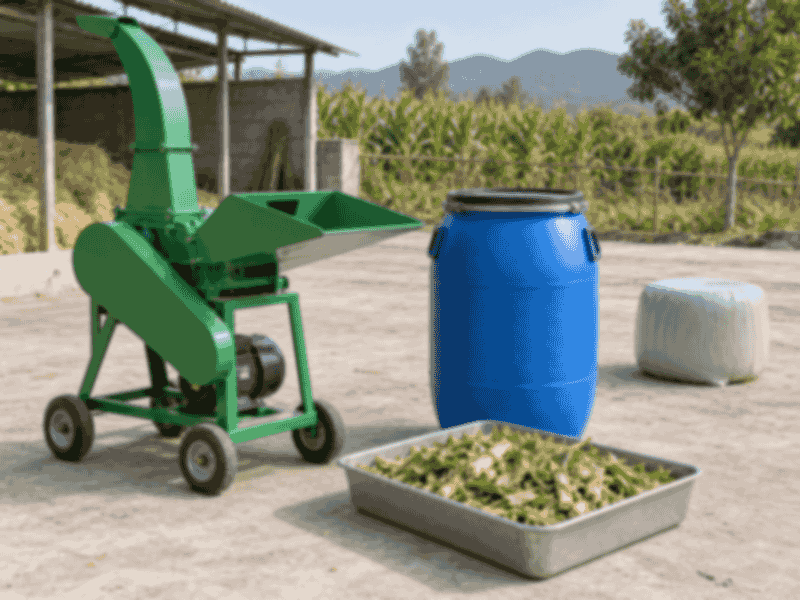
You can avoid common silage fermentation mistakes by matching crop moisture, chopping, packing, and airtight storage to your farm’s workload. You’ve cut tomorrow’s feed reserve, rain is approaching, and loose grass still fills your yard. A slow filling routine can leave you with heating forage and another feed bill. Choosing silage making equipment for small farms around your packing capacity helps you chop, fill, and seal each batch promptly.
What makes silage fermentation work?
Silage fermentation works when bacteria turn plant sugars into acids after you exclude air from stored forage. Your silage making equipment for small farms prepares material for that process; the cutter itself doesn’t ferment feed. Crop quality, moisture, and airtight storage still determine what reaches your trough.
What do bacteria need from your crop?
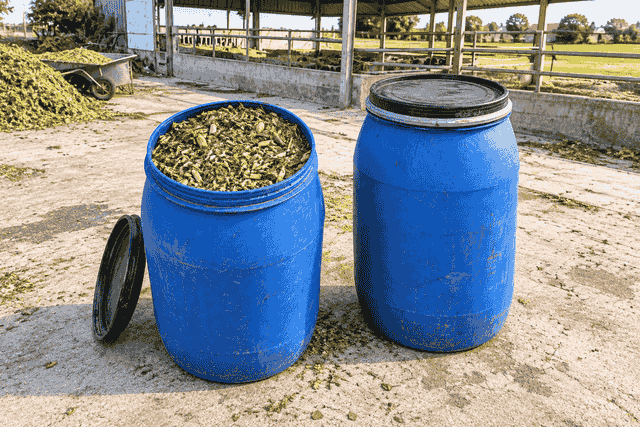
Suitable moisture and available sugars support fermentation. Legumes can resist acid buildup more than grasses because they have greater buffering capacity, so identical handling won’t produce identical results across crops. University of Minnesota Extension explains this crop difference.
- Harvest forage suited to your storage method.
- Keep soil and manure out of harvested material.
- Pack promptly rather than leaving loose forage overnight.
Where does your control begin?
Start with the crop in your yard. Check its condition before choosing a machine setting or filling a container. Mature, woody stalks retain their limitations after chopping; fermentation cannot replace missing nutrients.
| Input | What you check |
|---|---|
| Forage | Crop, maturity, cleanliness |
| Moisture | Measured suitability for storage |
| Storage | Sound walls, lids, and seals |
Use these checks before committing a full harvest. Key Takeaway: You protect more usable feed when crop preparation and airtight storage work together.
How do the four silage fermentation stages affect your work?
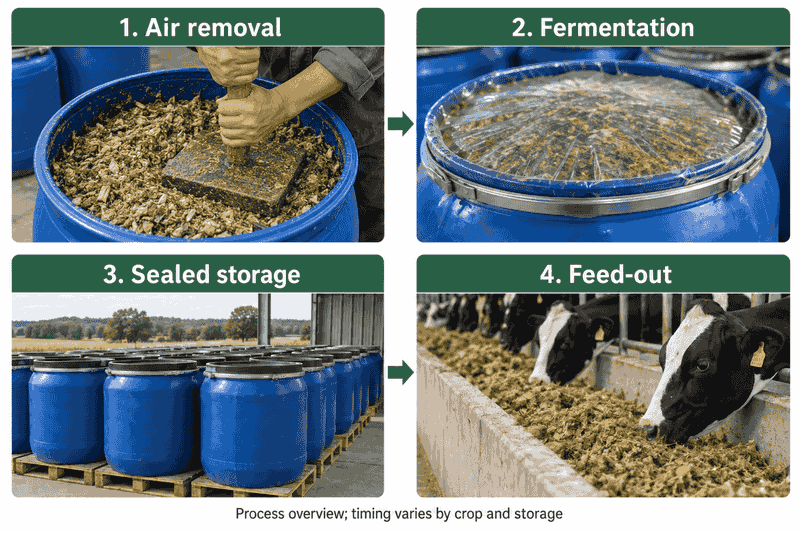
The four silage fermentation stages require prompt packing, a sound seal, protected storage, and careful feed-out. Plan silage making equipment for small farms around this sequence so your crew can finish filling before harvested material backs up. Calendar dates alone won’t tell you whether a batch fermented well.
What changes after you close the container?
Residual oxygen supports respiration before anaerobic fermentation develops. Acid production then increases, followed by a more stable storage period if the seal holds. Opening reintroduces air and allows spoilage organisms to grow; the stages overlap and their timing varies with crop and conditions.
- Shorten delays between chopping and sealing.
- Keep sealed containers closed during fermentation.
- Plan feeding before opening a batch.
Which task belongs to each stage?
Follow the batch through storage. Record its crop and sealing date, then inspect the outside without opening it. At feed-out, take only the amount needed and limit disturbance of remaining material, as described in Minnesota’s stored-forage guidance.
| Stage | Your task |
|---|---|
| Air removal | Pack and seal promptly |
| Fermentation | Keep the seal intact |
| Sealed storage | Inspect external damage |
| Feed-out | Limit exposed material |
Match work assignments to these stages. Key Takeaway: A batch needs protection after harvest day as much as during filling.
Why preserve seasonal forage for your livestock?
Silage fermentation helps preserve seasonal forage for periods of shortage. Properly matched silage making equipment for small farms helps you process that surplus while your packing crew can handle it. Savings depend on crop costs, labor, storage losses, and how much feed your animals consume.
What should you expect from preserved feed?
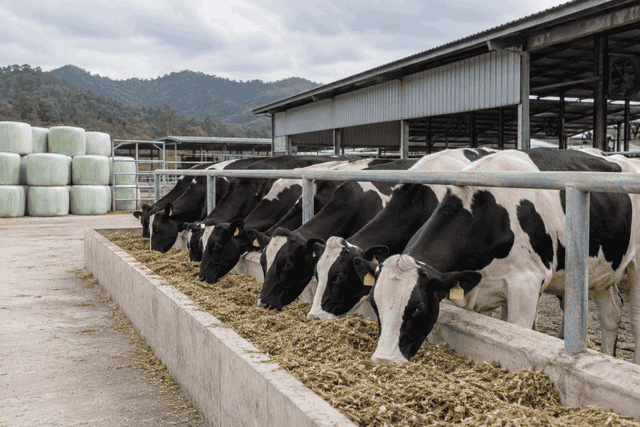
You gain a stored forage supply, but milk yield or weight gain still depends on the whole ration. Compare feeds on dry matter and nutrient value because water adds weight without adding nutrients. Have representative forage samples analyzed before making large ration changes.
- Record harvested and discarded quantities.
- Compare purchased feed on a dry-matter basis.
- Include plastic, energy, maintenance, and labor costs.
Can a small batch justify the investment?
Put your own costs beside the feed reserve. A cooperative sharing machinery faces different economics from one farm using a cutter occasionally. For example, hired harvesting may suit a short annual campaign, while an owned cutter may also serve daily forage preparation.
| Situation | Decision to test |
|---|---|
| Short harvest window | Owned versus hired capacity |
| Limited daily consumption | Smaller storage units |
| Shared machinery | Booking and cleaning responsibilities |
Price the whole routine before ordering. Key Takeaway: Judge value by usable feed delivered, not fresh tonnes chopped.
Which checks prevent silage fermentation losses?
Measure moisture, pack evenly, and seal promptly to prevent avoidable silage fermentation losses. Even capable silage making equipment for small farms cannot compensate for a leaking lid or an unsuitable moisture level. Chopped corn and wrapped grass bales need different targets.
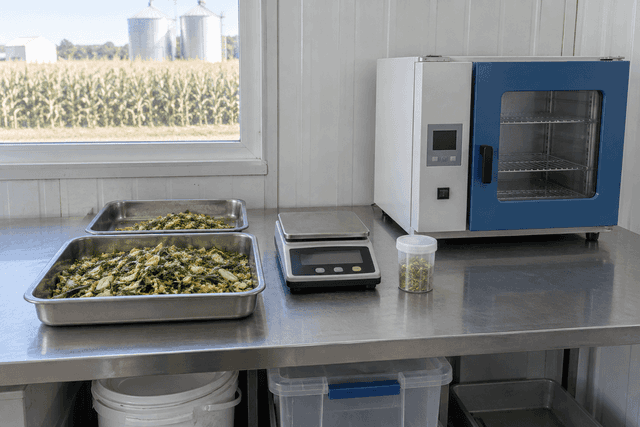
How wet should your forage be?
For whole-crop corn, Penn State gives a harvest window of 32–38% dry matter, equivalent to 62–68% moisture. Its wrapped-hay research describes 45–55% moisture as a useful wrapped-bale silage target; confirm crop-specific advice for your storage system. See corn quality guidance and wrapped-bale research.
- Sample several representative plants or locations.
- Recheck after wilting or a weather change.
- Keep moisture percentage separate from dry-matter percentage.
How do you protect the seal?
Check the closure before filling. Inspect barrel gaskets and bag seams, and follow the film supplier’s crop-specific wrapping instructions. A bacterial additive may support a defined fermentation goal, but it cannot seal a puncture or remove trapped air.
| Check | Action |
|---|---|
| Crop too wet | Review wilting before filling |
| Crop too dry | Reassess packing and storage suitability |
| Damaged packaging | Repair or replace before use |
Resolve these defects before the next load arrives. Key Takeaway: Measure moisture and verify the barrier instead of relying on appearance.
How do you choose silage making equipment for small farms?
Choose silage making equipment for small farms by crop, available power, harvest workload, and packing speed. A small system typically needs chopping equipment, a moisture-testing method, suitable storage, and practical compaction tools. A baler and wrapper become relevant when you choose wrapped-bale silage.
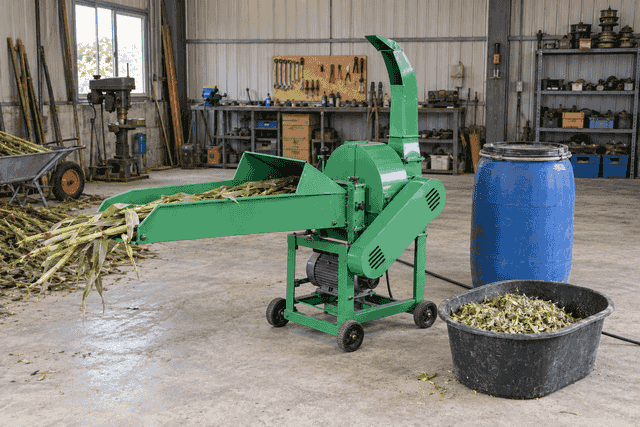
Which power source fits your site?
Electric drive suits a site with a compatible, dependable supply. Where you already own a suitable tractor, a tractor-driven chaff cutter offers another configuration to evaluate. Confirm rated power, electrical phase or PTO compatibility, guards, and local service access before purchase.
- Request a demonstration using your crop.
- Ask how output changes with moisture and cut setting.
- Obtain blade, belt, bearing, and maintenance information.
How much capacity can your crew use?
Time a complete batch. If a crew processes 1,000 kg over four working hours, its average requirement is 250 kg per hour before downtime allowance. This planning example includes the whole workflow; a cutter’s advertised output may describe continuous feeding under different conditions.
| Purchase check | Evidence to request |
|---|---|
| Crop handling | Representative cutting video |
| Throughput | Test conditions and measured output |
| Maintenance | Manual and spare-parts list |
Compare machines under the same conditions. Key Takeaway: Buy capacity you can pack and seal without creating a forage backlog.
How does chop quality influence packing and feeding?
Consistent chopping helps forage settle into storage while retaining fiber needed in the ration. Adjust silage making equipment for small farms using actual output samples, not a dial setting alone. Crop moisture, stem toughness, and kernel processing affect packing and silage fermentation.
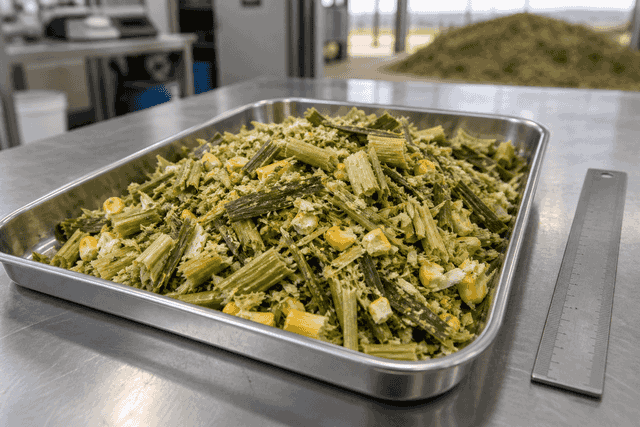
What should you inspect in a sample?
Check for long uncut stems, uneven pieces, and intact corn kernels. A general chaff cutter may shorten stalks without providing the kernel processing needed for whole-crop corn. Penn State discusses how particle size and kernel processing affect corn silage.
- Examine output when starting a new crop.
- Recheck after changing blade settings.
- Isolate power before clearing blockages or servicing blades.
When should you compare another processing method?
Look closely at what remains unprocessed. For tough stalks, compare a straw kneading machine through a crop trial rather than assuming finer output always improves silage. Your trial should assess handling, packing, energy use, and suitability for the intended ration.
| Observation | Follow-up |
|---|---|
| Long uncut stems | Check blades and feed consistency |
| Many intact kernels | Review kernel-processing capability |
| Excessively fine material | Review effective fiber with your adviser |
Use a sample tray during each setup change. Key Takeaway: Evaluate the forage leaving the machine before filling storage with it.
What should your harvest-day checklist include?
Your checklist should cover crop readiness, equipment condition, storage preparation, and assigned jobs. Position silage making equipment for small farms so harvested material moves directly toward packing. Prepare spare packaging before work begins so a damaged bag does not delay silage fermentation.
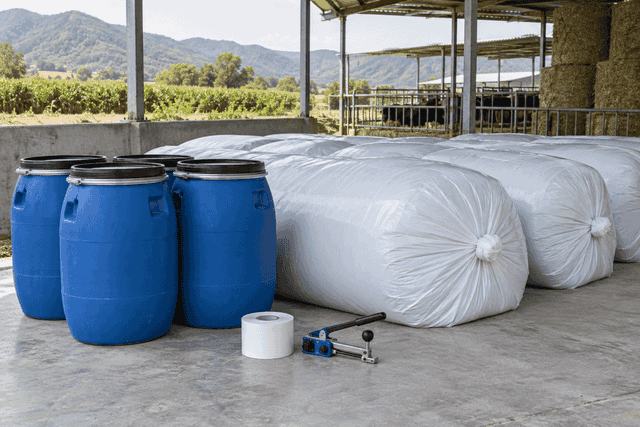
What needs checking before you start?
Clean storage and organize people before cutting the crop. University of Maryland Extension recommends planning the work, preparing equipment, removing old feed, and covering packed forage promptly in its corn silage guidance.
- Inspect guards, fasteners, blades, and emergency stops.
- Prepare a clean working surface and intact packaging.
- Assign chopping, transport, packing, and sealing jobs.
- Record crop identity and the sealing date.
How do you keep the crew moving?
Walk the route once before harvest. Check where full containers go and how empty ones return without obstructing the cutter. If packing falls behind, slow harvesting rather than building an uncovered pile; the next batch can wait until your crew has storage ready.
| Work point | Ready when |
|---|---|
| Cutting | Machine checks are complete |
| Packing | Container and operator are available |
| Sealing | Closure materials are within reach |
Remove bottlenecks before increasing cutting speed. Key Takeaway: A coordinated crew can protect feed quality without buying a larger machine.
How do you investigate poor silage fermentation?
Check moisture records, compaction, and air entry when silage fermentation fails or stored feed develops mold. Replacing silage making equipment for small farms won’t resolve every storage failure. Separate suspect material while you establish what happened.
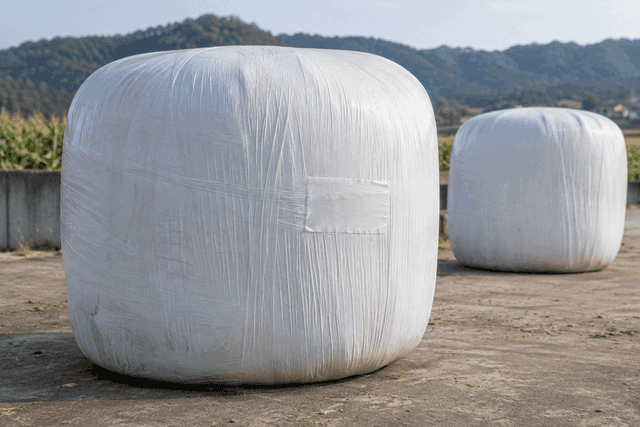
What can the location of damage tell you?
Spoilage near a lid or puncture directs attention toward air entry; damage throughout a batch needs a broader review. Smell and appearance cannot establish feeding safety. A fermentation analysis helps distinguish acid profiles, and Penn State explains why pH alone is insufficient.
- Photograph damage and record its location.
- Check neighboring containers and closures.
- Ask your forage laboratory which samples it needs.
When does machinery need a closer look?
Trace the fault back through filling. Uneven chopping or repeated stoppages may have slowed packing, so revisit your chaff cutter selection checks. Repairing an external hole can limit further exposure, but it does not restore spoiled feed.
| Finding | Next check |
|---|---|
| Surface mold | Packaging integrity and exposure |
| Widespread abnormal fermentation | Moisture and laboratory results |
| Long filling delays | Crew capacity and machine reliability |
Correct the cause before repeating the batch. Key Takeaway: Keep a failed batch from becoming a recurring management problem.
How can you turn these checks into a workable silage system?
Build your system around a manageable batch, measured crop conditions, and a dependable sealing routine. Compare silage making equipment for small farms only after defining those requirements. These nine checks cover silage fermentation, crop moisture, equipment choice, storage, and fault diagnosis.
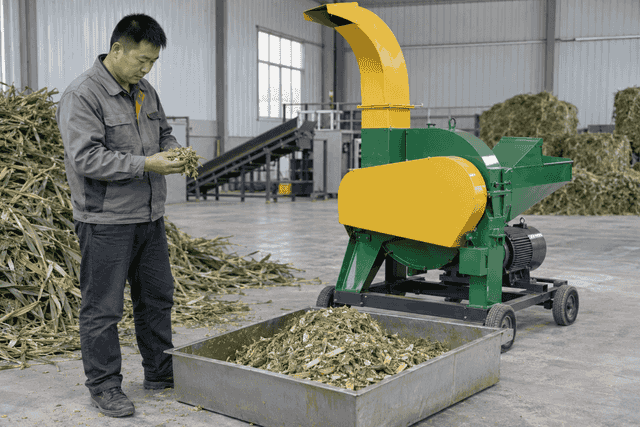
What should you send with an equipment inquiry?
Bring the supplier your working conditions. A crop description and daily workload make a quotation more useful than a request for the cheapest model. If you distribute machinery, include the crops your customers use and their local power conditions so the proposed configuration matches their work.
- Crop type, moisture condition, and sample photographs.
- Expected workload and available operating hours.
- Power supply, storage method, and destination.
- Spare-parts and operator-training requirements.
What should happen before you place an order?
Ask Golden Machinery for a crop-matched equipment proposal, relevant specifications, and a demonstration. Agree on what the machine must handle and what support the quotation includes. Our position is practical: small farms deserve equipment they can operate, maintain, and fit into their daily work.
| Your requirement | Proposal should address |
|---|---|
| Actual forage | Cutting configuration and trial |
| Available crew | Workable processing capacity |
| Local operation | Power, maintenance, and parts |
Use the proposal to check fit before committing. Key Takeaway: Turn your crop and storage plan into a specific equipment brief, then contact us today to discuss a suitable configuration.
What should you know before starting a batch (FAQ)?
Settle storage size, crop targets, and quality checks before you begin. With silage making equipment for small farms, the practical choice depends on how much forage you can handle and feed without prolonged air exposure. These answers address common small-batch silage fermentation decisions.
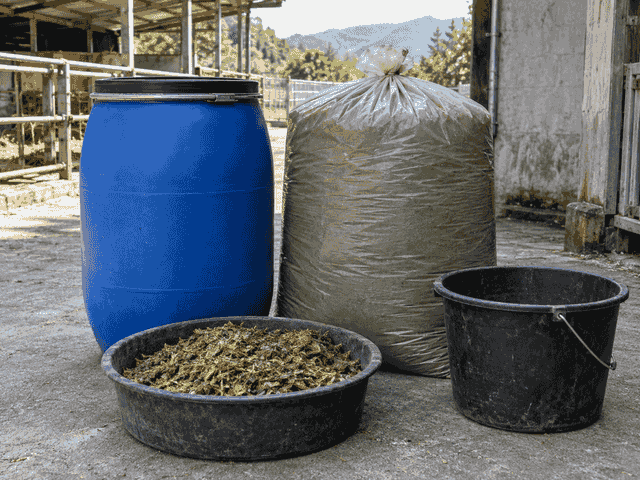
Can I start without a tractor or baler?
Q1: Can I make silage in bags or barrels? Yes, for manageable quantities. Use suitable airtight packaging, compact thoroughly, and choose units that match your feeding rate; ordinary loose sacks cannot provide that barrier.
Q2: Can I use the same machine for grass and corn? Sometimes, if its specification and a crop trial support both. Ask separately about kernel processing because chopping corn stalks does not guarantee broken kernels.
What’s the best way to set moisture and batch size?
Q3: What’s the best moisture level for my forage? It depends on the crop and storage method. Use a measured sample and crop-specific guidance rather than copying a wrapped-bale target into a chopped-corn system.
Q4: What’s the best container size for a small herd? Choose a size your herd can consume promptly after opening. Work backward from daily feeding: account for your ration and weather before buying packaging.
- Estimate the forage quantity needed per feeding.
- Choose a handling weight your crew can manage.
How do I know if my silage is ready to feed?
Q5: How do I know if fermentation has gone well? A sealing date alone cannot confirm quality. Review storage history and obtain a representative forage analysis; investigate mold, abnormal heating, or rancid odors before feeding suspect material.
Key Takeaway: Match each batch to your storage and feeding routine, then use measured checks to decide what reaches your animals.
