
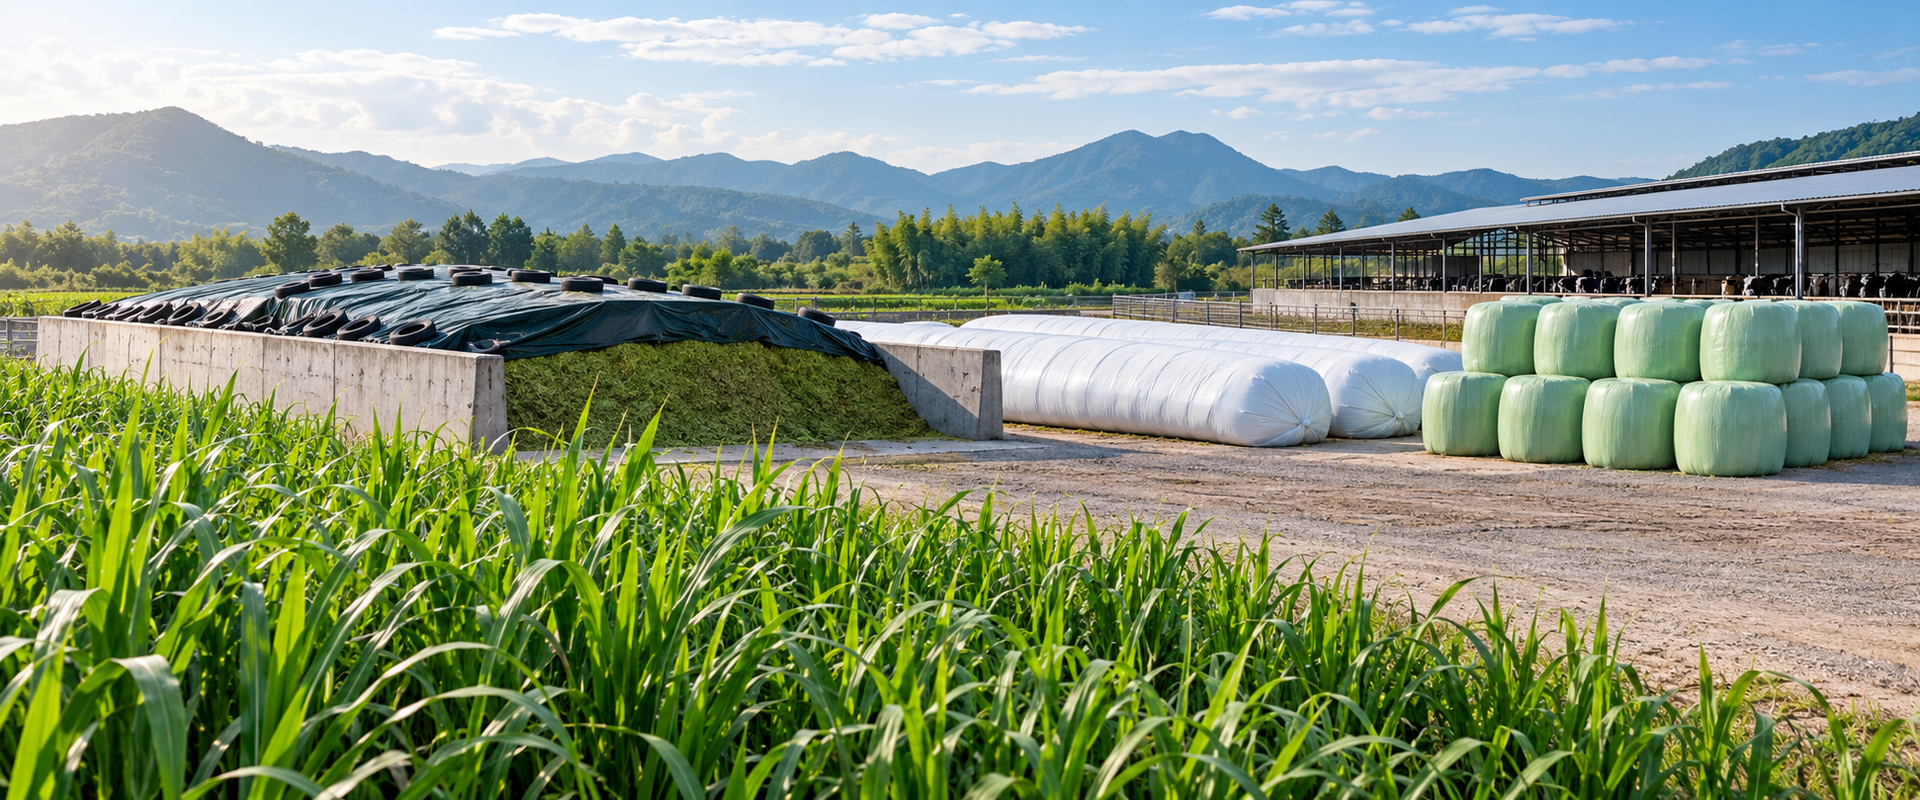
Prepare Napier grass for silage by cutting leafy growth, wilting excess water, chopping evenly, packing tightly, and sealing before air enters. That sequence answers how to prepare Napier grass for silage on your farm when forage must last beyond the wet season.
During the wet season, a field can outgrow daily use; during the dry season, growth can slow. A planned batch preserves that surplus, provided you move from long stems and excess moisture to a sealed store without delay.
1. Why Make Napier Grass Silage?
Napier grass silage preserves wet-season surplus for the dry season, so you can avoid forcing fresh forage into a short feeding window. Our guide to how to prepare Napier grass for silage starts with growth you can handle, then follows moisture, chop, packing, and closure.
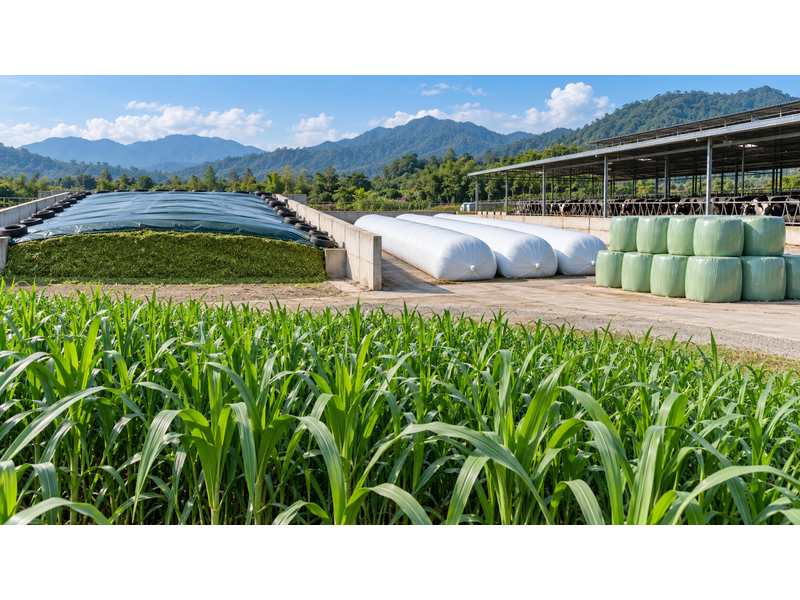
Build a storage bridge from the field
Tall Napier stems can carry excess water and resist compaction. Prepare the crop for the storage route before it reaches a loose heap.
Start with the crop and its destination. Before cutting, answer four practical questions:
- Where will the grass wilt and wait?
- How will the crop be chopped and packed?
- What will keep air out of storage?
- How will you remove a clean portion later?
Keep quality connected from cutting to sealing
A good chop cannot rescue a badly sealed pit, and a strong wrapper cannot rescue wet, poorly prepared forage. Keep the hand-offs visible to everyone on the job.
| Stage | Control | Protects |
|---|---|---|
| Harvest | Leafy, tender crop | Workable stems |
| Wilt | Even exposure | Packable material |
| Chop | Consistent pieces | Dense layers |
| Seal | Intact cover or film | Anaerobic fermentation |
The batch holds together only when each hand-off is ready. Key Takeaway: preserve the surplus only when cutting, chopping, packing, and sealing can run as one connected job.
2. When Should You Cut Napier Grass for Silage?
Cut Napier grass when growth is leafy and stems are still tender enough to chop and compact. When deciding how to prepare Napier grass for silage, use plant condition first; treat height and regrowth time as supporting clues.
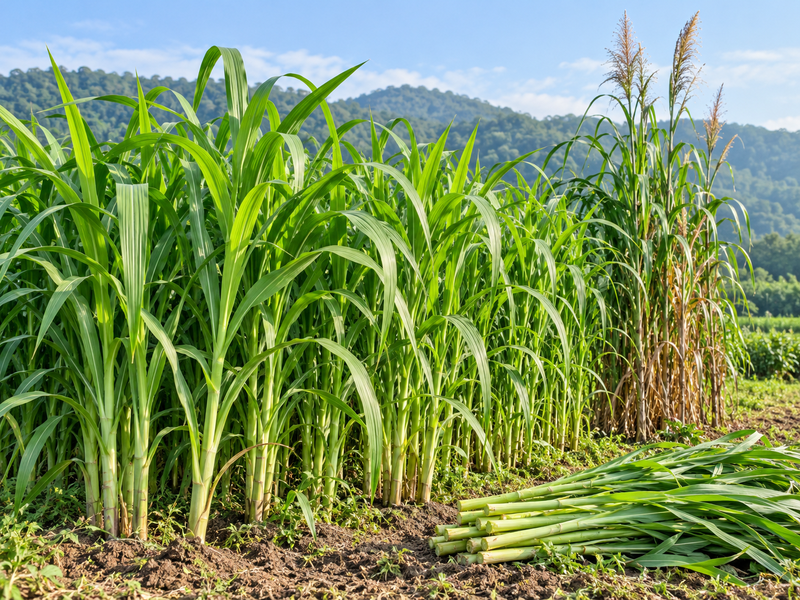
Read the plant before the calendar
Rain, heat, fertility, and regrowth can change a stand faster than the calendar shows. Walk the stand before starting the cutter. Check whether stems bend before becoming hard and woody. Look for:
- A balanced amount of leaves and stems.
- Firm but tender stems.
- Enough crop to keep chopping and storage moving.
A rough 1–1.5 m height can guide the walk, but plant condition decides.
Avoid the two timing mistakes
Cutting very young growth can leave excess moisture that requires wilting before ensiling. Waiting too long can add bulk while making stems harder to feed and compact.
| Field condition | Risk | Better decision |
|---|---|---|
| Young and rain-soaked | Excess water | Wait for a workable window |
| Leafy and tender | Balanced handling | Schedule the full process |
| Old and stemmy | Bridging and uneven pack | Cut a better block or adjust the line |
Choose a window that leaves time to wilt and chop. Key Takeaway: choose leafy, tender growth, then confirm that the crop can stay on one work plan through storage.
3. How Do You Wilt Napier Grass for Silage?
Wilting removes some water from freshly cut Napier grass before chopping and storage, but the weather sets the pace. This guide to how to prepare Napier grass for silage uses a representative sample rather than a fixed wilting time. For a simple squeeze test, see how to make silage.
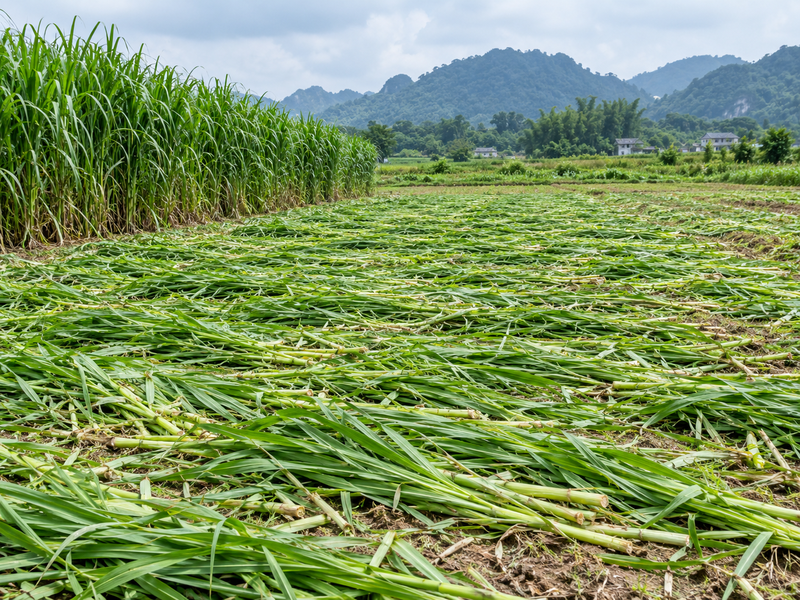
Let weather set the pace
Wilting manages moisture while keeping the crop fit for packing. A thin, even swath loses water more predictably than a heap, but rain and shade can change the result. Check the forecast, then keep the swath manageable.
- Spread the crop evenly instead of making a deep heap.
- Chop promptly once representative moisture measurements meet guidance for your storage system.
Wilting time changes with crop condition, weather, and swath depth; measure the crop rather than relying on a fixed schedule.
Check the crop before chopping
Take handfuls from the top, middle, and bottom of the swath. A squeeze check shows free water or a workable mass, but it only screens the crop.
| Sample signal | Suggests | Next step |
|---|---|---|
| Water releases freely | Too wet | Continue controlled wilting |
| Holds together without free water | Screening only | Measure a representative sample and compare it with storage-specific guidance |
| Leaves crack and stems feel dry | Over-wilting risk | Chop promptly and check packing |
Use the squeeze result to choose the next sample, not to certify storage suitability. Key Takeaway: wilt only as much as the crop requires, then keep chopping, packing, and sealing close together.
4. What Chop Length Suits Napier Grass Silage?
Short, even pieces settle into storage with fewer air gaps and less bridging. For how to prepare Napier grass for silage, keep particle flow steady enough for the storage crew to pack each load. Our guide to chaff cutter materials compares how different forages chop.
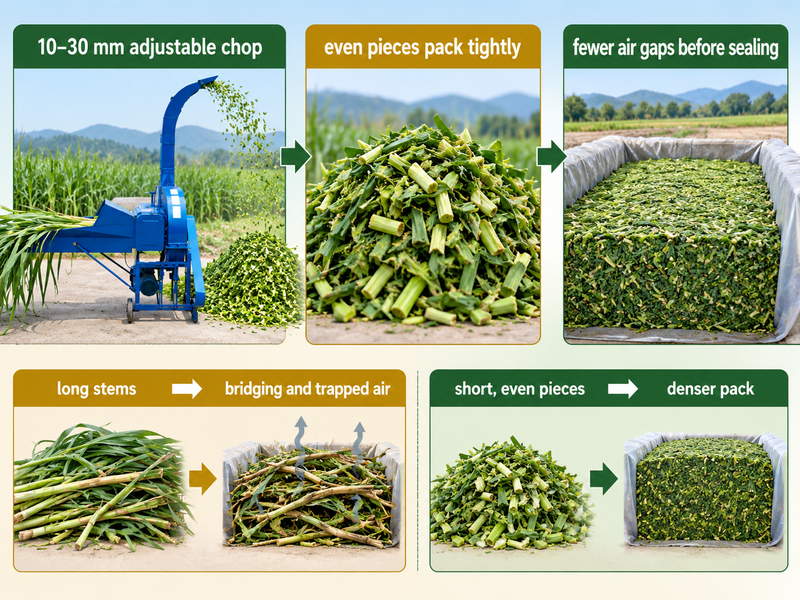
Use a chop that packs
Long, ragged Napier stems can spring across a pit or wrap around feeding parts, leaving air voids. Consistent pieces form a denser layer.
Shorter helps when the crop needs to settle. The adjustable machine range is 10–30 mm; choose within it according to crop condition and storage route.
- Avoid long pieces that bridge gaps.
- Keep the cut consistent across the load.
- Inspect blades when pieces become ragged.
- Match chop flow to packing speed.
Keep long stems moving through the line
Tall, wet stems can wrap around light feed systems, while gulps and stalls interrupt packing.
| Condition | Risk | Response |
|---|---|---|
| Long, wet stems | Bridging and wrapping | Improve feed control |
| Even pieces | Stable flow | Match cutter and packer |
| Ragged pieces | Air gaps | Check blades and crop condition |
Consistent flow matters more than a headline capacity the line cannot sustain. Key Takeaway: use the adjustable range to make pieces your storage system can pack without trapped air.
5. Which Napier Grass Chopper Suits Your Silage Plan?
Choose a Napier grass chopper by daily crop volume, power supply, stem length, and distance from the yard. A machine checklist for how to prepare Napier grass for silage starts with a route that keeps tall, wet material moving. FC-4 and larger electric chaff cutter models have feed rollers as standard for long stems.
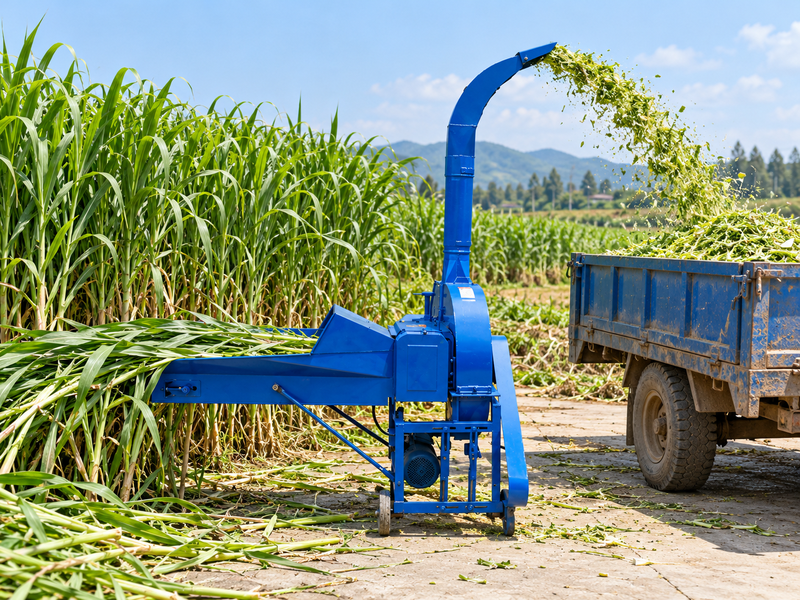
Start from the day’s work
Choose a model around the route and the peak workday. Start with the route, then choose the drive. Estimate peak-day crop and run hours, then ask:
- Is the cutter fixed beside storage?
- Does the crop move between fields?
- Do long stems need controlled feeding?
- Can the supply and storage crew keep pace?
For high-volume work, the heavy-duty chaff cutter page lists FC-30 as its highest-range model. The Napier grass chopper for silage making page can frame the line before you confirm output and order.
Match model features to the crop
The detailed table lists these advertised ranges. FC-4, FC-6, and FC-9 have standard chain conveyors and feed rollers; FC-6 and FC-9 offer pneumatic tires.
| Model | Output | Motor | Diesel | Useful feature |
|---|---|---|---|---|
| FC-2.5 | 1–4 t/h | 4 kW | ≥8 HP | Compact entry range |
| FC-4 | 2–8 t/h | 5.5 kW | ≥12 HP | Conveyor and rollers standard |
| FC-6 | 3–15 t/h | 7.5 kW | ≥15 HP | Feed system; tires optional |
| FC-9 | 3–20 t/h | 15 kW | ≥28 HP | Feed system; tires optional |
These are advertised model ranges, not promises for every crop. Key Takeaway: select the cutter around crop movement and storage pace, then confirm the configuration against real farm conditions.
6. Do You Need Molasses for Napier Grass Silage?
Use molasses only when the crop and process call for an added sugar source; it cannot repair poor moisture handling, uneven chopping, weak packing, or a faulty seal. Treat how to prepare Napier grass for silage as a process decision first, then consider additives.
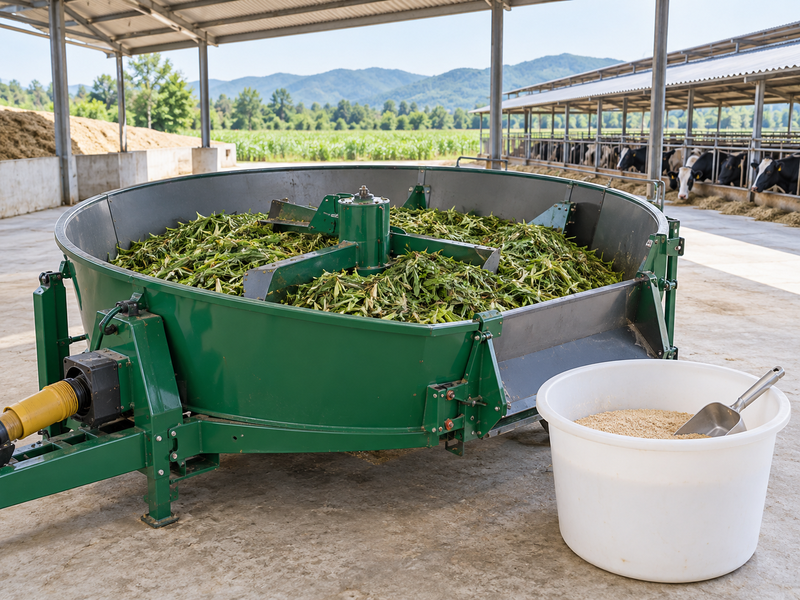
Treat additives as a controlled choice
Low-sugar grass may need an additive to support fermentation, but the physical process comes first. Fix the physical process before reaching for an additive. Check:
- The crop is workable for the storage route.
- Chopped material is even and packable.
- Storage is clean and ready before harvest.
- The additive can reach the batch evenly.
Use any recipe or application rate only with reliable local agronomy and crop-specific guidance.
Mix consistently and record the result
If you use an additive, apply it evenly and record the result. The silage fermentation guide can help structure that record.
| Decision | Record | Benefit |
|---|---|---|
| Additive needed? | Crop and storage condition | Separates process from recipe |
| Application method | How it reached the forage | Shows coverage |
| Batch result | Smell, heat, texture, spoilage | Guides the next cut |
An additive can help only when it fits the crop and is applied evenly. Key Takeaway: make moisture, chop, packing, and sealing reliable before deciding whether molasses belongs in the batch.
7. How Should You Store Napier Grass Silage?
Store Napier grass silage in a system your site, labour, feed-out rate, and sealing routine can support. The baled silage vs bunker silage comparison is part of how to prepare Napier grass for silage, because storage determines how you pack, seal, move, and open the crop.
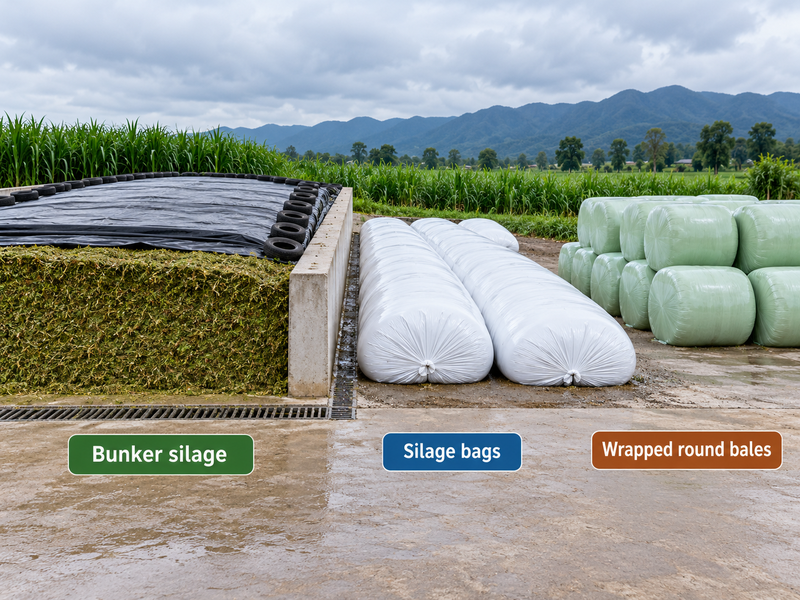
Compare the three storage routes
A pit suits a farm with a sound site and packing equipment. Bags suit smaller batches; wrapped bales suit separate units or transport.
Choose the opening routine before the container.
- Pit: compact each load, cover the mass, and protect the face.
- Bags: fill and close each bag, then prevent punctures.
- Bales: form, bind, wrap, stack, and move without tearing film.
Seal quickly and protect the package
Finish filling, packing, and sealing promptly, then inspect the cover or film for holes. Three to four weeks closed is a planning interval, not proof of safety. The silage baler and wrapper advertises 550 × 550 mm bales of about 70 kg and 45–120 seconds per bale, while actual bale weight and cycle depend on the material and operating conditions.
| Route | Strong fit | Main control |
|---|---|---|
| Pit or bunker | Larger batches | Airtight cover and clean face |
| Bags | Smaller or movable batches | Careful closure and puncture protection |
| Wrapped bales | Separate units or transport | Film integrity during handling |
Seal quality matters more than the container. Key Takeaway: choose a route your farm can fill, seal, inspect, and open cleanly.
8. How Do You Check Napier Grass Silage Before Feeding?
Check Napier silage before feeding by inspecting the seal, face, smell, texture, heat, and visible mold or contamination. The final step in how to prepare Napier grass for silage is to protect usable forage and keep visibly spoiled material out of the feed stream.
Inspect from outside in
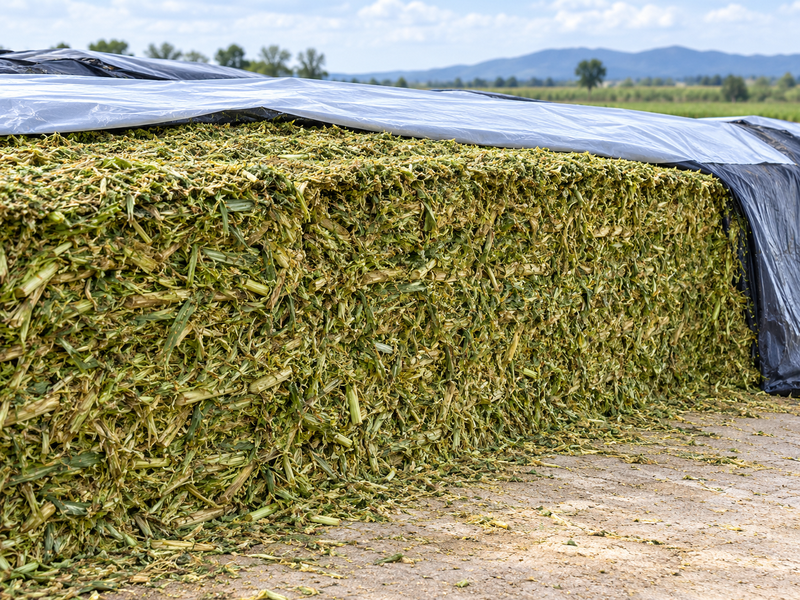
Start with the package: look for torn film, loose covers, rain entry, animal damage, and edge gaps. Open only what you can inspect and use promptly. Then check several spots for heat, foul odour, mold, rot, or dirt:
- Cover or film integrity.
- A compact, even face.
- A normal fermented smell without heating.
- No visible mold, rot, or contamination.
- Clean tools and surroundings.
Reject visibly moldy or spoiled material. Appearance and smell alone cannot certify safety; seek testing or local guidance when uncertain.
Keep feed-out controlled
An open face becomes an air-exposure problem when removal is slow. Keep it smooth and remove only what can be used promptly.
| Check | Good sign | If it fails |
|---|---|---|
| Seal | Cover remains intact | Repair or isolate damage |
| Face | Compact and clean | Remove loose or spoiled material |
| Heat and aroma | Normal fermentation | Hold for closer assessment |
| Work area | Clean tools and ground | Clean before removal |
Careful inspection protects usable forage while keeping doubt out of the feed stream. Key Takeaway: keep the face clean, remove spoiled material, and pause when the batch needs verification.
9. What Is Your Napier Grass Silage Plan?
Your Napier grass silage plan is ready when it names the harvest cue, wilting check, chop setting, machine, storage route, and feed-out routine. If you need help turning those choices into a line, contact us with your crop, daily tonnage, power, and storage conditions. That is how to prepare Napier grass for silage around your actual farm.
Turn decisions into a workday
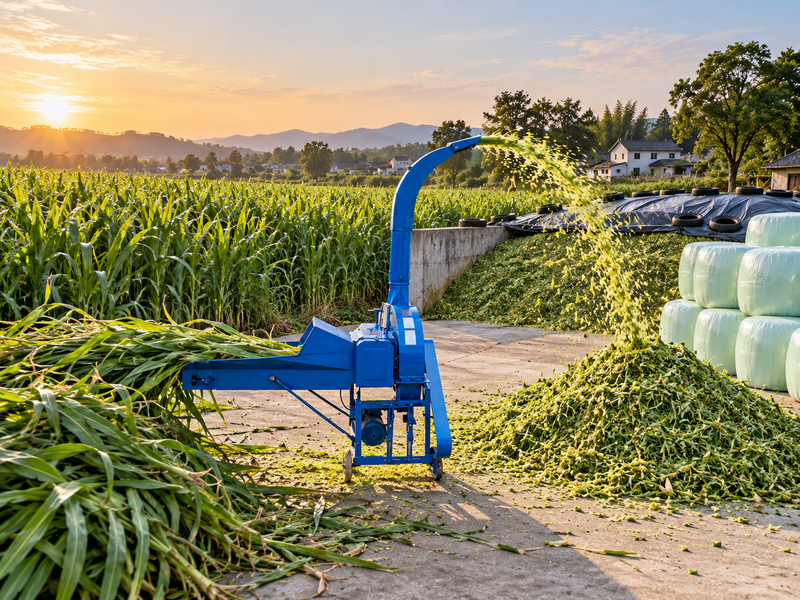
Write the plan in crop order and check each hand-off before cutting. Put the next physical action beside each decision. A farm sheet keeps crews aligned:
- Field block and harvest cue.
- Wilting area, chop setting, and feed route.
- Storage space and cover ready before cutting.
- Inspection and feed-out routine.
This exposes a missing trailer or unprotected edge before cutting.
Specify the line around farm conditions
Share the information that changes equipment selection so crop, drive, movement, and storage connect.
| Farm detail | Why it matters |
|---|---|
| Crop and stem condition | Changes feeding and chop consistency |
| Daily fresh-crop target | Sets a realistic capacity range |
| Power supply | Determines drive options |
| Field-to-storage distance | Changes mobility needs |
| Pit, bags, or bales | Sets downstream packing work |
Those details let a supplier check the proposed line against your farm. Key Takeaway: give a supplier real crop, power, movement, and storage conditions so the proposed line fits the farm.
10. What Should You Ask About Napier Grass Silage?
Ask about crop flow, airtight storage, and a clean feed-out face when deciding how to prepare Napier grass for silage.
Can I store Napier grass without a bunker?
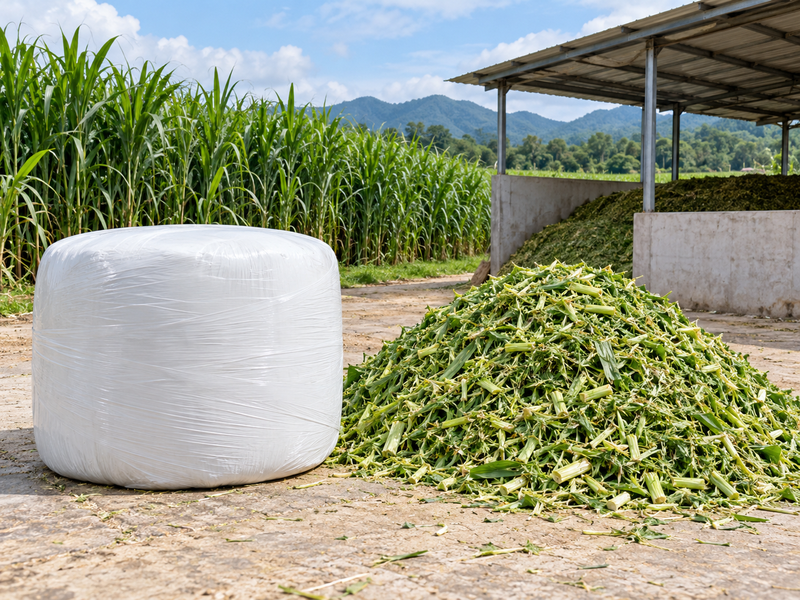
Yes. Bags or wrapped bales can store Napier grass when each portion is packed and sealed carefully. Every route needs firm compaction and an intact seal or film.
Choose the smallest system your team can manage well. Check:
- Level, clean storage ground.
- Inspection assigned to each unit.
- A feed-out pace suited to one unit at a time.
What's the best chop length for Napier grass?
The best setting produces short, even pieces that pack without trapped air. The machine range is 10–30 mm; crop and storage determine the setting.
Then watch the material, not the dial. If stems bridge or wrap, improve feed control and adjust within the range; if pieces become ragged, inspect blades and crop condition.
How do I know if Napier silage is ready?
You cannot call it ready from elapsed time alone. Treat roughly three to four weeks closed as a planning interval, then inspect the seal and face. Look for a clean package, normal fermented characteristics, no visible mold or rot, and no heating; reject visibly spoiled material. Elapsed time and sensory inspection cannot establish feeding safety, so arrange an appropriate batch test or follow local guidance when the result is uncertain.
Key Takeaway: use the crop, storage system, and inspection result together under real farm conditions.
